In this article, we will learn to create an Azure SQL Database with built-in sample data.
Typically, in non-production environments, whenever new databases are created, one of the preliminary requirements is to have some test data loaded to perform some basic checks. Also, sample data is required for a variety of different scenarios. In a highly regulated environment where loading data from external sources need to follow a stipulated process, it can take quite some time to load sample data, which may delay the initiation or acceptance testing of certain work aspects on a database. To add to it, to properly test various database features one may need data that is meaningful, normalized and contains at least a few business entities that are inter-related. Generating a random number of records with random values with a script often does not provide the quality of data that is productive for testing out database features. On Azure cloud, Azure SQL Database is one of the most popular means of hosting transactional data, and the needs of sample data on the database are the same. In this article, we will understand how to create a database with built-in sample data on Azure, so that developers do not need to put in separate efforts to set it up for testing database features.
Azure SQL Database Setup
It is assumed that one has an Azure account with the required privileges to access database service on Azure. Log on to the Azure portal and navigate to All services from the menu button on the top-left corner of the page. Click on the Databases section, and you would be able to find the SQL Database service as shown below.
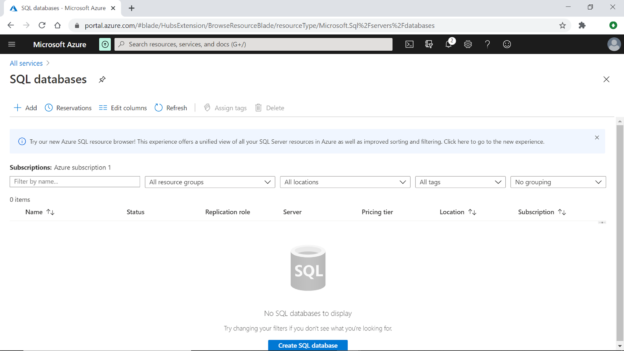
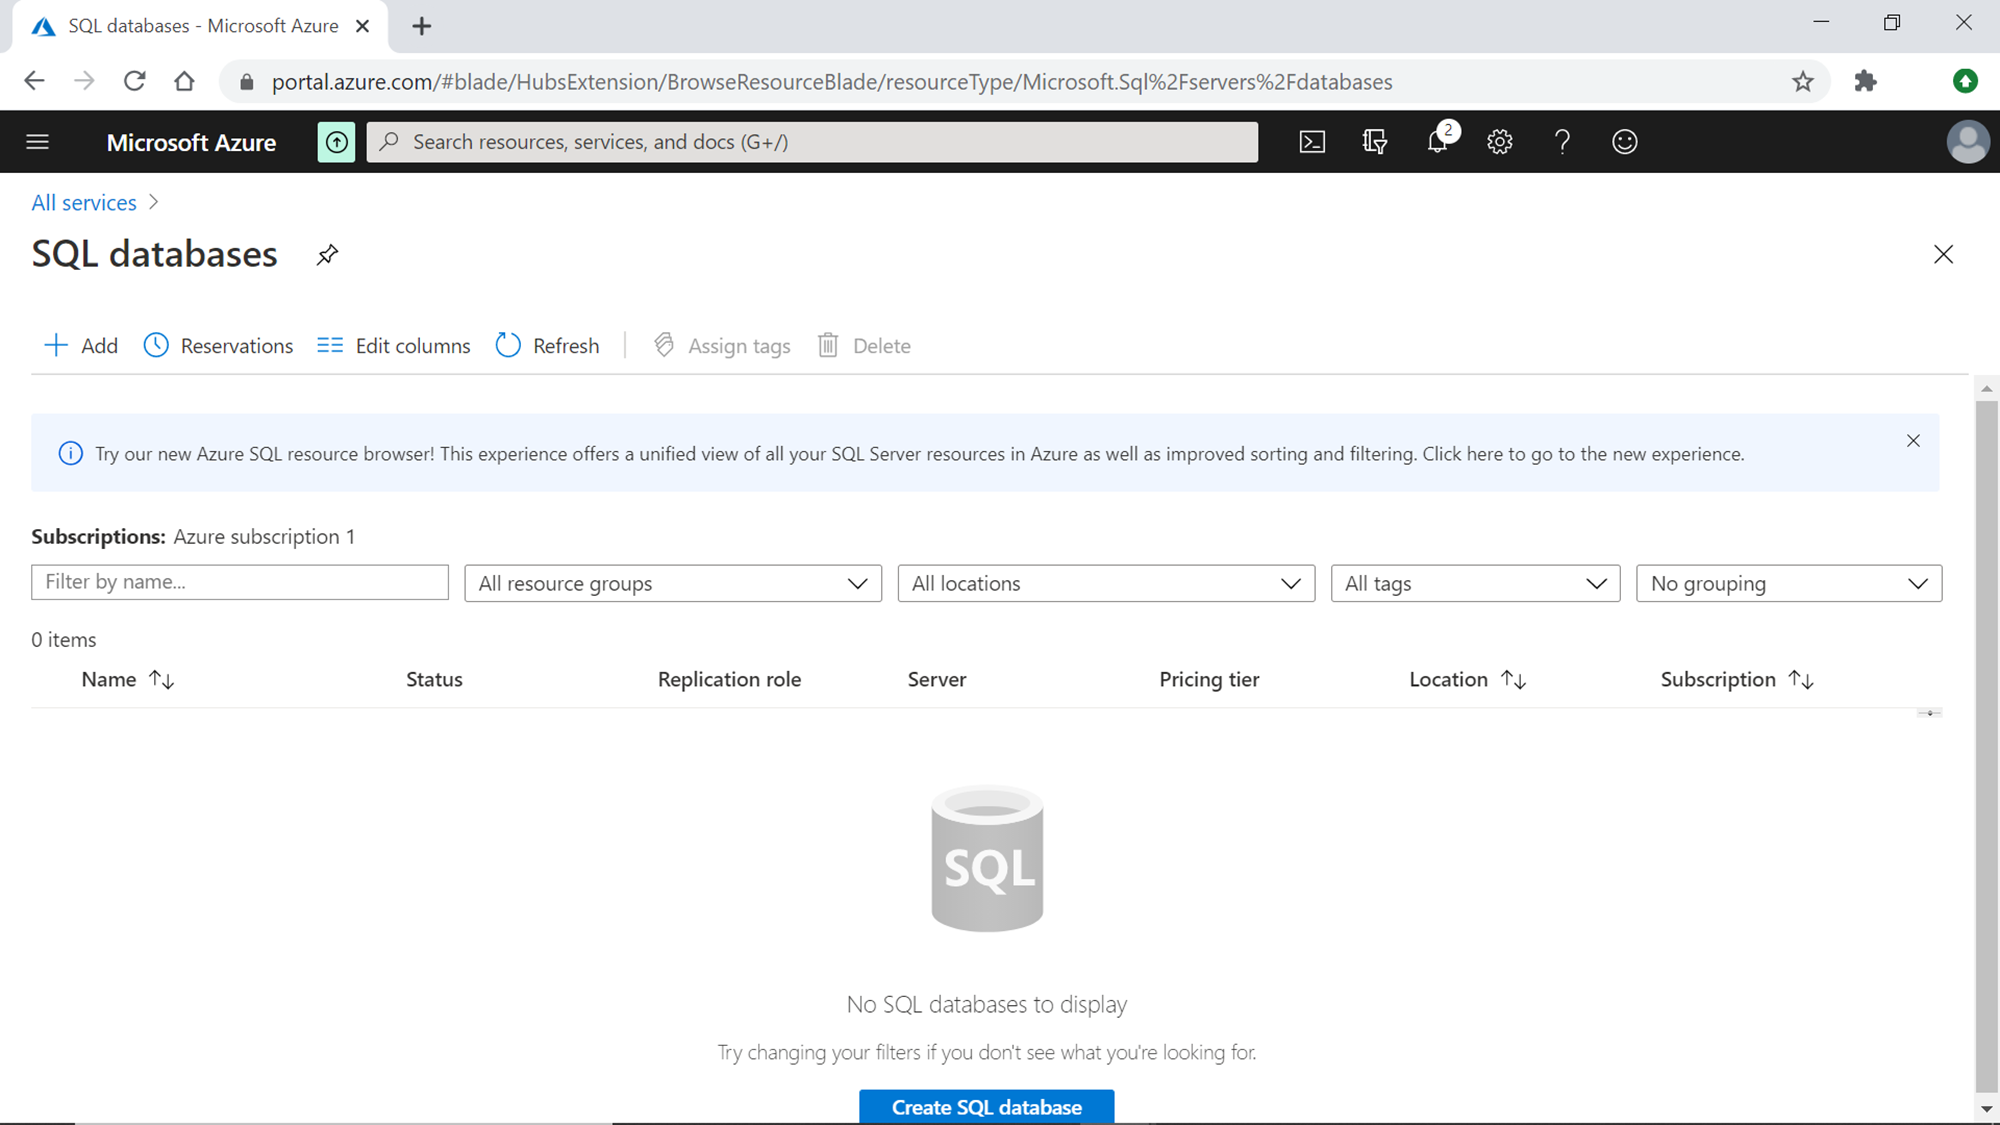
Click on this service and you would be navigated to the home page that would show the list of any existing database. If you do not have any existing database, the screen would look as shown below. We intend to create a new database. Click on the Add button to initiate the Create SQL database wizard.
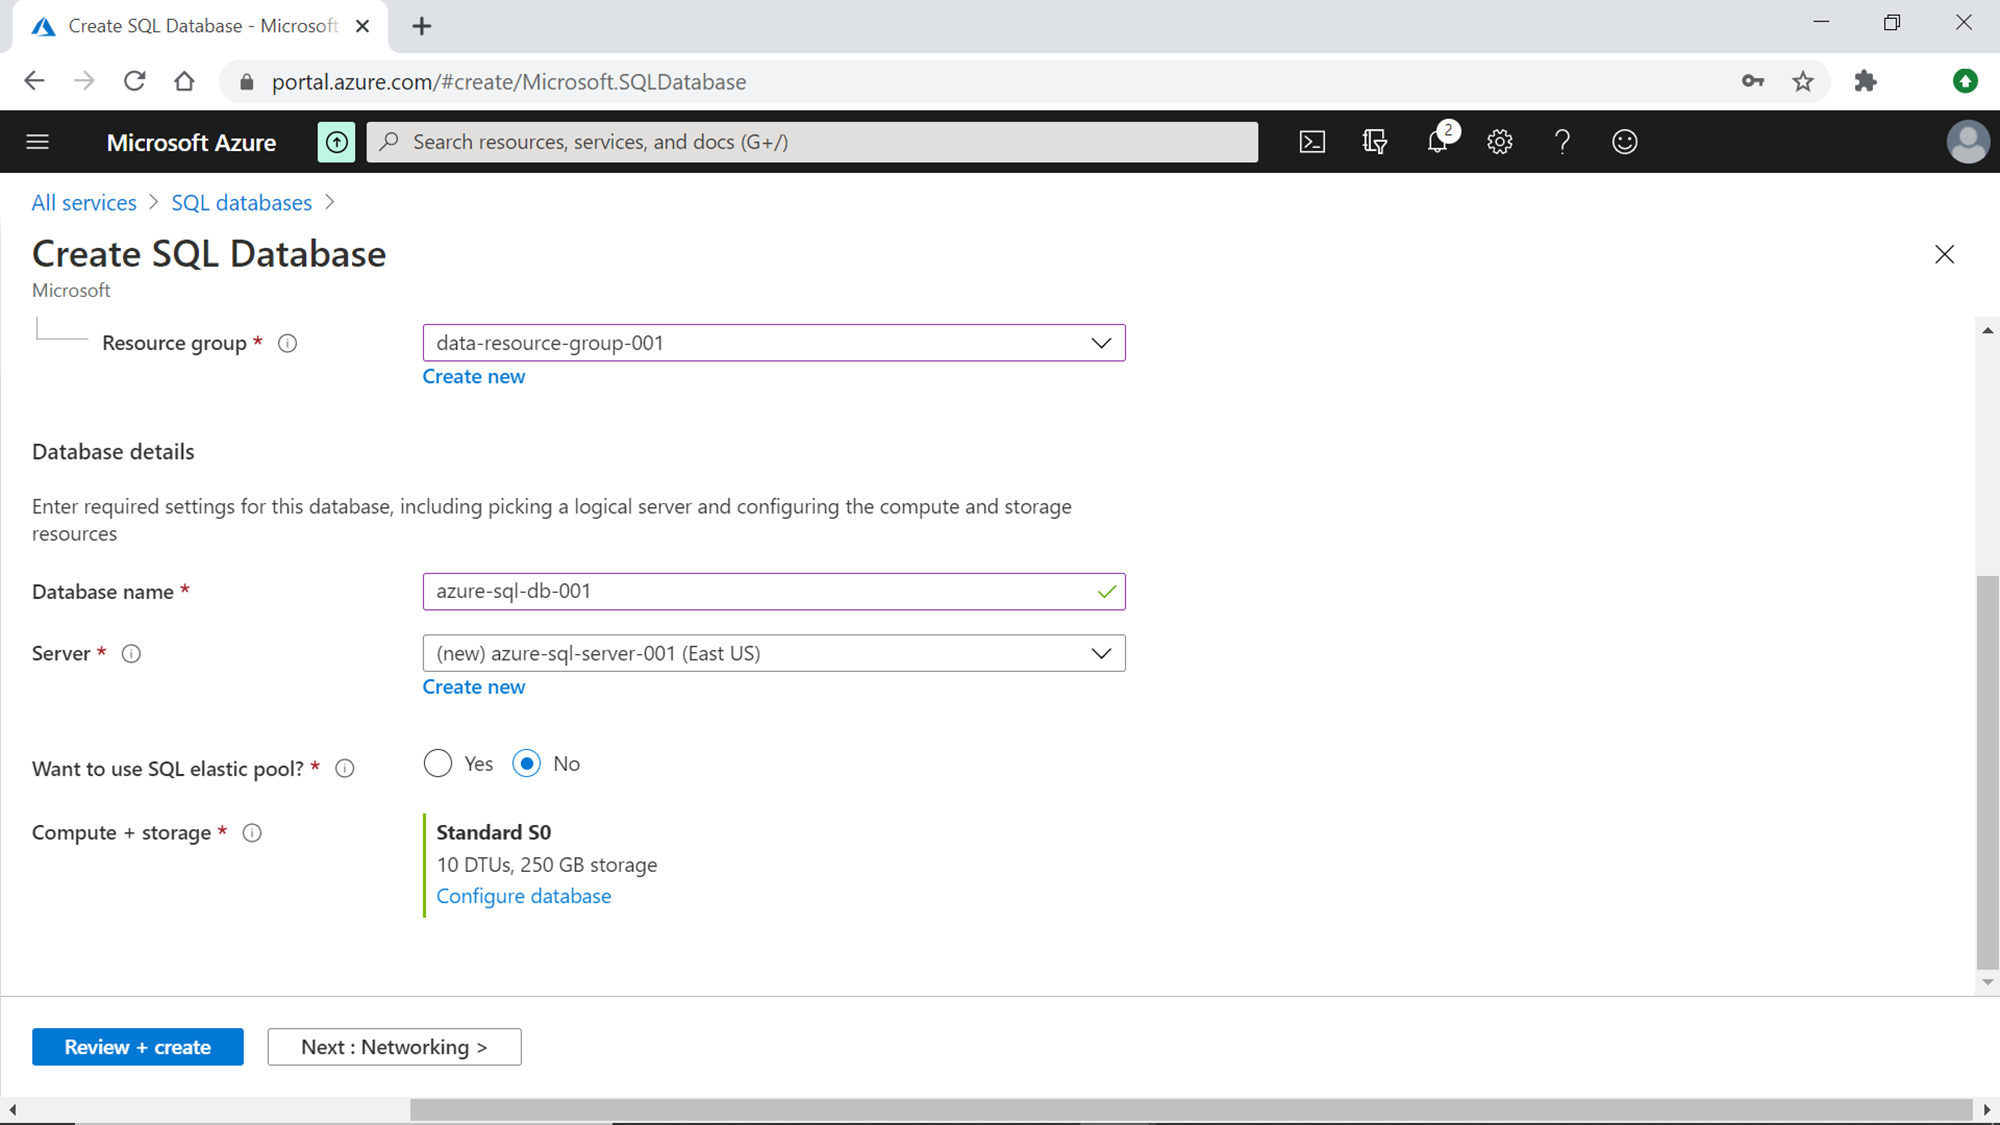
In the first step, provide the subscription and resource group details. If it’s a brand new account, you may need to create a resource group first and select the same under which you may want to place this database.
In the next step, we need to select a SQL Server that would host the database. In case, you do not have an existing SQL Server, you can create a new one by selecting New from the server option and providing server details as shown on the right side of the screen below.
In the next step, you can opt to customize the SQL elastic pool and compute + storage settings or continue with the default.
In the next step, provide the networking related details. If you may want to access this database instance over open internet from SQL Server Management Studio installed on your local machine, you may want to choose Public Endpoint as shown below. This is not recommended for any long-term, production or non-production grade installations. This option should be only considered for some quick testing. If you are choosing the public endpoint option, you may want to enable the Add current client IP address option as well, which will add your machine’s IP address to the network, to allow traffic from your local machine to the Azure SQL Server and SQL Database as well.
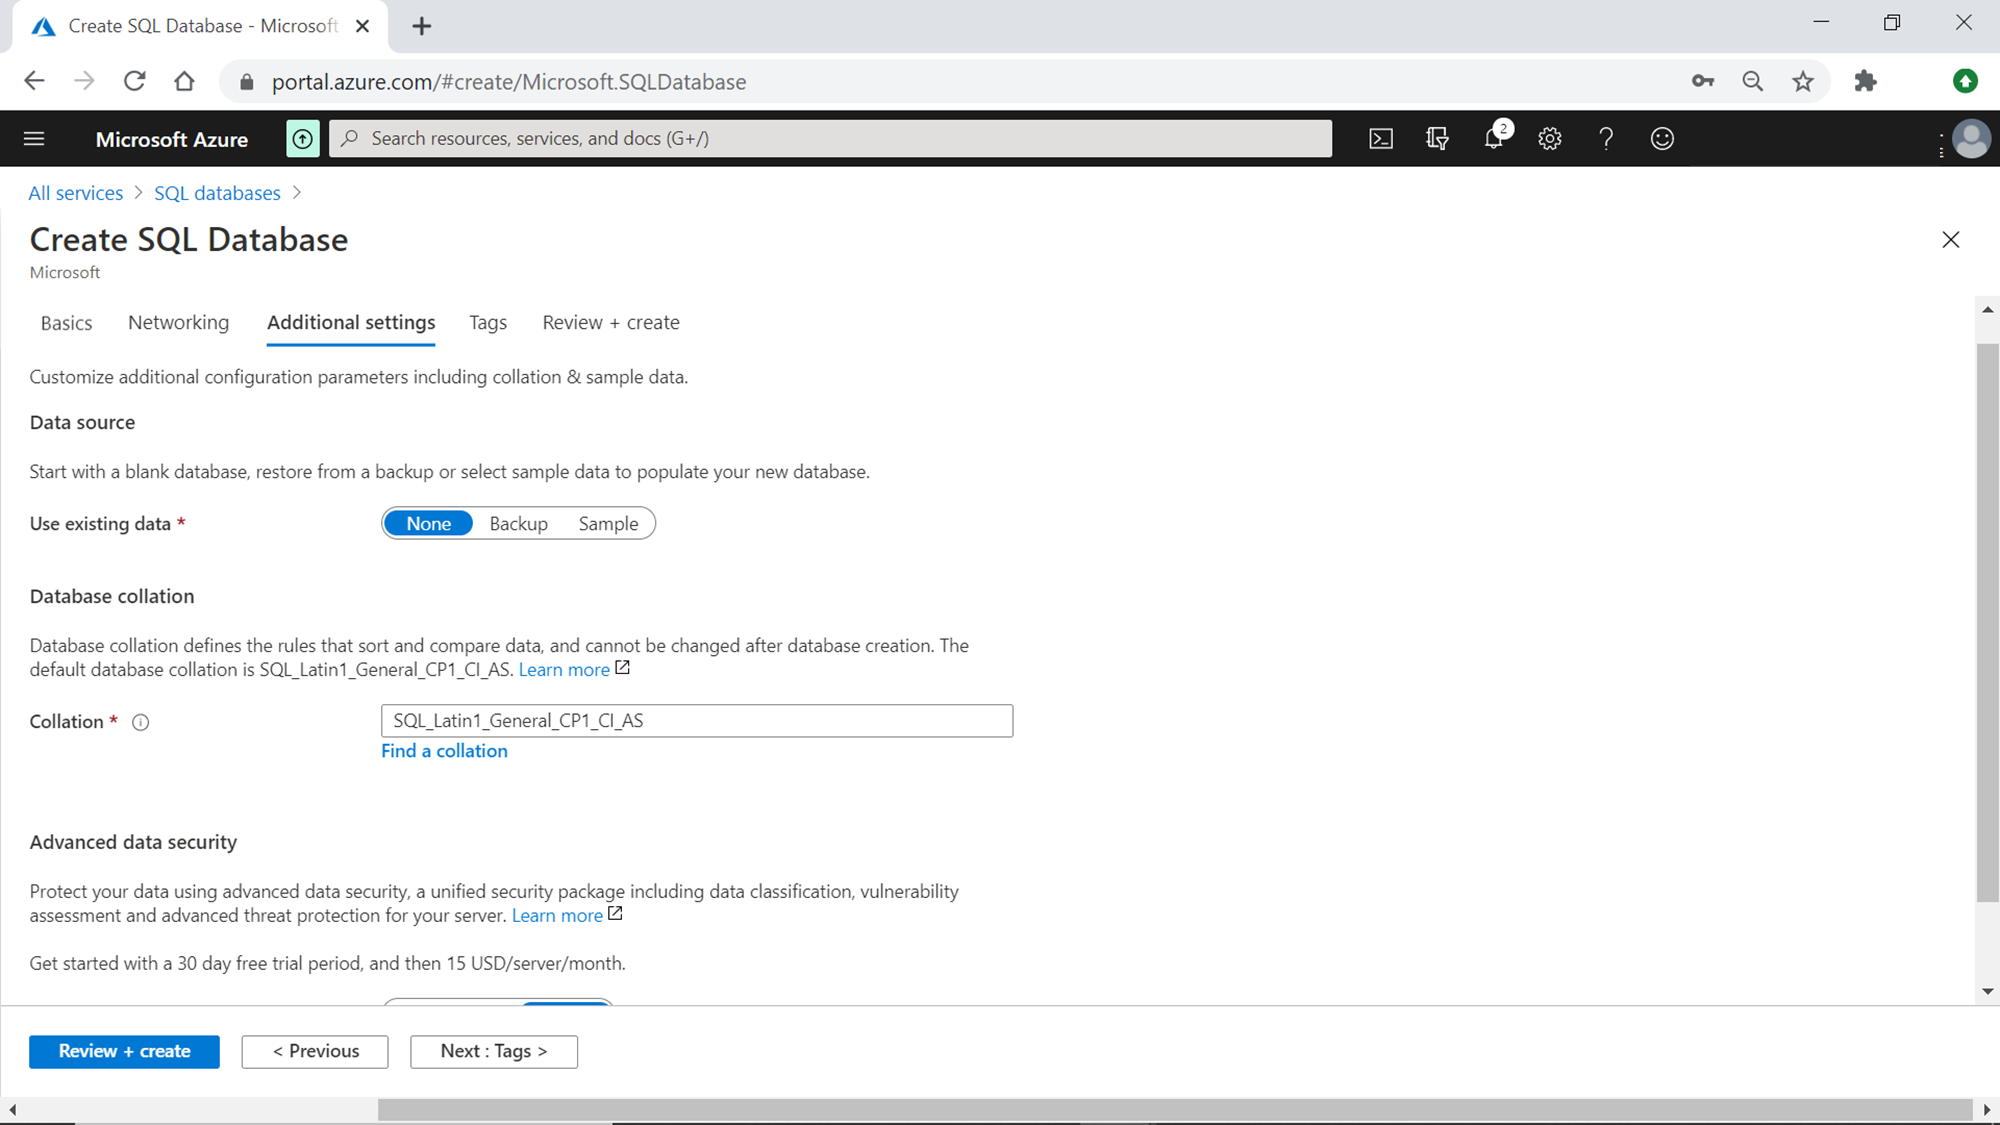
Additional settings is the next section where we can make the configuration which will result in sample data getting pre-loaded in our SQL Database. The use existing data option would look as shown below with the value of None selected by default. This results in the creation of a blank database.
Change this setting and select the Sample option as shown below. You would notice that the Collation option would get disabled as the sample data requires a pre-selected collation. You can opt to customize the Advanced data security option or continue with the default option. Click on the Review + create button as we are now ready to create our new database.
You would be shown the final cost and details summary of the configuration. Verify the same and click on the Create button to start creating the database.
Once the database is created, navigate to the database dashboard page and it would look as shown below.
We expect that this database should already have the sample data. The fastest and easiest way to check this is by exploring the database using the Query Editor from the portal itself. Click on the Query Editor menu option in the left pane to navigate to the query editor.
Provide the credentials that you configured when you created the SQL Server, under which your SQL Database is hosted. Once logged in, you should be able to see the sample tables under the SalesLT schema. This sample data contains entities like products, customers, orders and sales. Also, this data is inter-related with integrity constraints and is suitable to test most of the database related features.
Shown below is the query output of a sample query executed on SalesLT.CustomerAddress table. All these tables contain at least a few hundred to couple thousand records, depending on your query logic and criteria.
Finally, if you intend to connect to this sample database from your locally installed SSMS to use this sample data and even export or download query results on your local machine, you can just click on the Connect button, provide the database endpoint as well as credentials, and you would be able to access the sample data as shown below.
In this way, we can create a database on Azure with built-in sample data, so developers can start testing out database features and perform acceptance testing easily.
Conclusion
In this article, we understood the need to have sample data in newly created databases, and the mechanism of creating a new Azure SQL Server, Azure SQL Database and configuration settings that enable creating sample data right when the database gets created.
- Finding Duplicates in SQL - February 7, 2024
- MySQL substring uses with examples - October 14, 2023
- MySQL group_concat() function overview - March 28, 2023


