The Azure Container Instances provides a flexible solution for implementing container-based images in Azure infrastructure quickly. It does not require building the virtual machine, installing applications like Microsoft SQL Server, or configuring the software. You can choose the container images from the libraries and build solutions. You can use non-persisted(default) and persisted storage to avoid losing container data if your container status changes to Stopped and restarted.
In the previous articles (TOC at the bottom), we explored the following methods of container instances deployments.
- Azure Portal
- Azure CLI
- ARM templates
- Persisted storage deployment with container instances
This article gives you a walkthrough of Azure Container Instances using YAML.
Note: This article does not give the Azure Container Instances description or its configurations in detail. You should go through the TOC article before proceeding with the article.
Introduction to the YAML
The YAML stands for Yet Another Markup Language. It is a data serialization file especially used for the configuration files. It is a user-friendly language and provides broad language support. YAML is a case-sensitive language and use .yaml or .yml as file extension. It is considered a superset of the JSON files. However, YAML tends to be more readable than JSON.
Let’s look at a basic YAML file for understanding the YAML concept.
|
1 2 3 4 5 |
--- # It is a sample YAML file name: Mary Smith age: 27 location: India |
- The YAML file starts with the three dashes (- – -). If you include multiple documents in a YAML file, each document starts with three dashes.
- The comments start with a hash (#). You must separate the comments from other tokens using whitespaces.
-
The YAML consists of key-value pairs. For example, in the above code,
- key: name
- value: Mary Smith
-
The YAML supports multiple data types such as integer, float, string.
- The strings can be enclosed in single or double quotes or no quotes.
- To use a list of members, use a leading hyphen (-).
- You can use an array using the colon(:) in a key-value format. It should enclose by the curly braces {}.
- To specify a null, use a tilde(~) or the unquoted null string literal.
- You can use a pipe (|) character to preserve a newline character. You can use it to specify long or multi-line strings.
|
1 2 3 4 |
data: | It is a new journey |
YAML configuration file for Azure Container Instances
We can deploy multiple containers in a container group by specifying containers configuration in a YAML configuration file. Previously, in the article, Deploy a container instance in Azure using an ARM template, we learned the Azure resource manager templates to automate container deployments.
For this article, we will use deploy the following container.
- Azure Container Instance with SQL Server 2019 image on Ubuntu
- The SQL Server Image: mcr.microsoft.com/mssql/server:2019-CU12-ubuntu-20.04
Note: You can refer to https://hub.docker.com/_/microsoft-mssql-server for checking Official images for Microsoft SQL Server on Linux for Docker Engine.
To work with the article, we have the following requirements.
- Azure Cloud Shell bash environment in Azure portal OR
- Locally installed Azure CLI extensions
- Azure credentials
- Visual Studio Code as YAML script editor
Note: You can download the Visual Studio code latest edition from the URL: https://code.visualstudio.com/
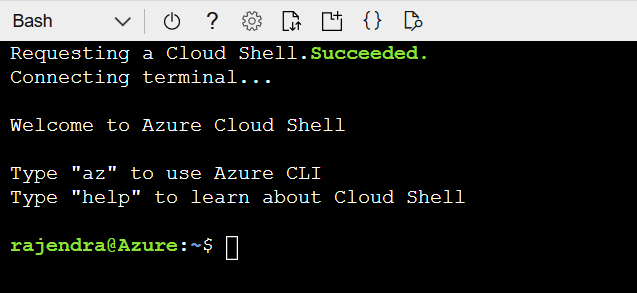
We will use the Azure Cloud Shell bash terminal from the Azure portal. For this purpose, log in to the Azure portal and click on the Cloud Shell icon as shown below.
You get the following BASH terminal in the Azure portal.
The YAML script for container deployment is as below. We can use the secure string for the SQL SA password; however, I specify the password in simple text for the demonstration.
|
1 2 3 4 5 6 7 8 9 10 11 12 13 14 15 16 17 18 19 20 21 22 23 |
apiVersion: 2019-12-01 location: eastus name: securetest properties: containers: - name: mycontainer properties: environmentVariables: - name: 'ACCEPT_EULA' value: 'Y' - name: 'MSSQL_SA_PASSWORD' value: 'India@123' image: mcr.microsoft.com/mssql/server:2019-CU12-ubuntu-20.04 ports: - port: 1433 resources: requests: cpu: 2 memoryInGB: 2 osType: Linux restartPolicy: Always tags: null type: Microsoft.ContainerInstance/containerGroups |
Let’s understand the script before executing it in the terminal for container deployment.
- location: It is the Azure region where we want to deploy the resources
-
Container properties:
- Define environment variables using key “name” and value “..”
- The azure container image for SQL Server
- Ports: Enter the SQL Server port number for communication. We will use the default port 1433 in this section.
- Specify CPU and MemoryInGB in the script for your container configuration
- The OS type: Linux, it should be as per the application image we specified in the script
- type: It is the Azure container type. Its value will be – Microsoft.CotainerInstance/containerGroups
Let’s switch to the bash terminal. Here, we will create a YAML script file using the in-built code editor. Execute the command code deploy-aci.yaml for creating an empty YAML file to write our scripts. You can write your code or paste the scripts specified above for container resources.
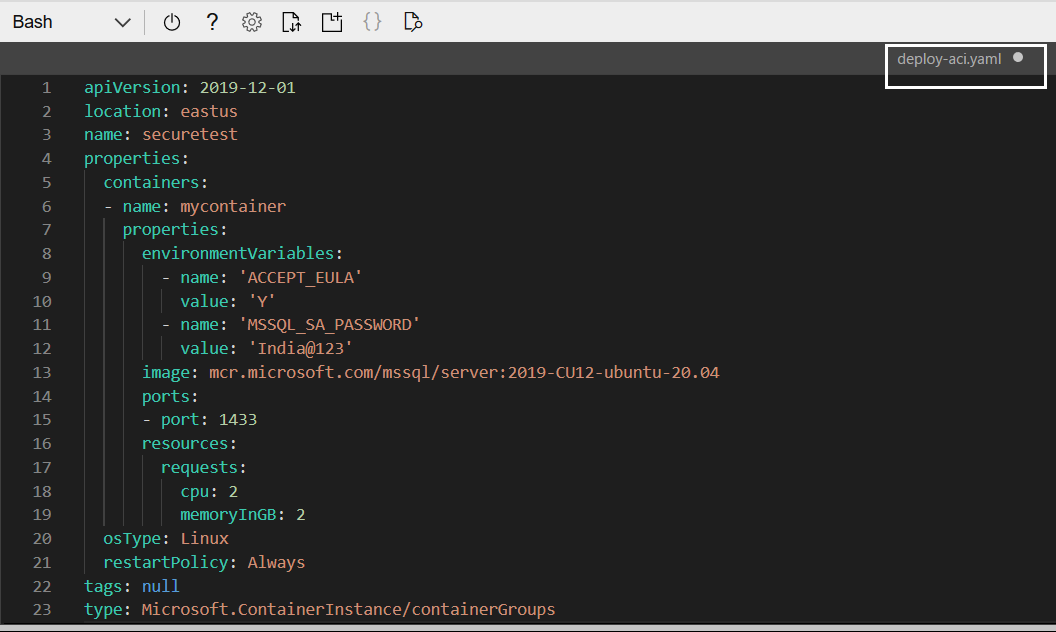
Save the script file and close the editor. Now, we are ready to deploy the Azure Container Instance. To execute the YAML script, we use the Azure CLI command – az container create and the parameter –file for container deployment.
|
1 |
az container create --resource-group myResourceGroup --file deploy-aci.yaml |
You get JSON script output that shows the Azure Container instance is deployed successfully.
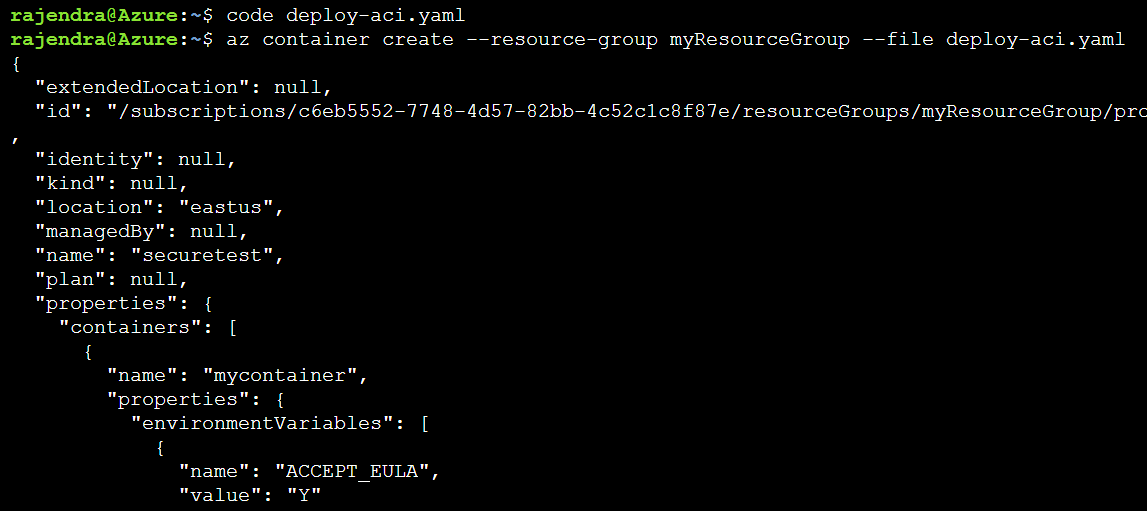
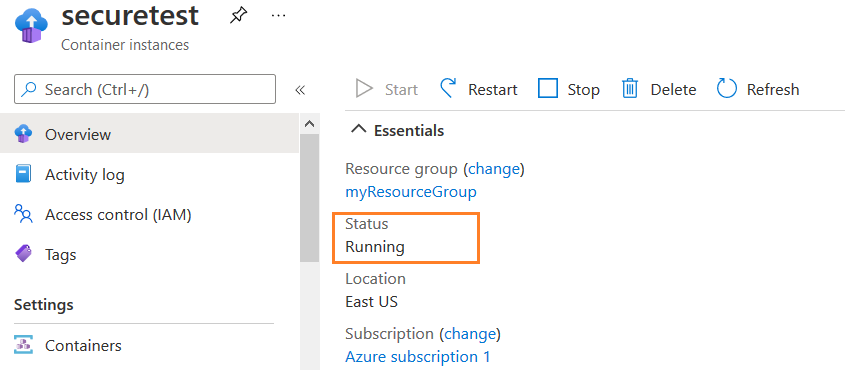
You can use Azure CLI or portal to verify the containers. Its status should be running as shown below.
Export an existing Azure Container Instance in YAML format
Suppose you are a beginner in YAML or have a container instance with various parameters and configurations. In that case, it might be a time-consuming and slightly difficult task to write a script. Therefore, we can use the reverse engineering approach.
-
Deploy an Azure Container Instance using your platform choice. For example, you can deploy it in any of the
following ways.
- Azure Portal
- Azure CLI
- Azure ARM templates
The Azure CLI command – az container export can export the container in a YAML script. You can modify the file content such as container name, port, CPU, Memory. You can use the updated YAML script for further resource deployments.
The script has the following inputs:
- Output file format: Specify YAML for export container in a specific (yaml) format
- name: Specify the container’s name that you wish to export
- resource-group: specify the resource group name
- file: enter the desired exported yaml script file name.
|
1 |
az container export --output yaml --name myazuresql --resource-group myResourceGroup --file myazuresql.yaml |
It exports the specified Azure container instance. You can verify the exported file with the ls command to list files available in the current directory.

We can open the file in the code editor in the Cloud Shell or download it in the local system and edit it for a better experience. To download the generated YAML script, click o the icon- Upload \ Download files.

In the Download a file prompt, you need to enter the fully qualified file path. In this case, the exported file exists in the home directory. Therefore, enter the file name with the YAML extension as shown below.

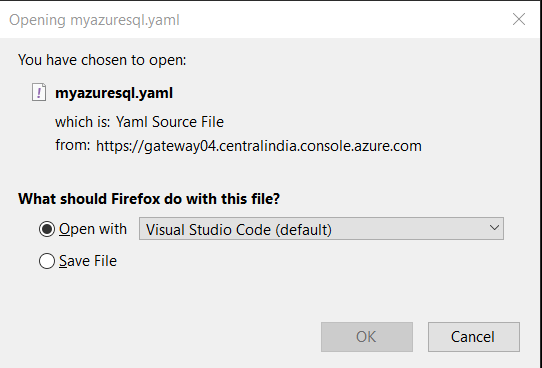
Click on Download and open the file in VS Code in your local system.
The exported script for Azure Container Instance is as below.

You can reuse this exported script by modifying the parameter values during container deployment. For example, I modified the container name, DNS name label, IP address.
|
1 2 3 4 5 6 7 8 9 10 11 12 13 14 15 16 17 18 19 20 21 22 23 24 25 26 27 28 29 30 31 32 33 34 35 |
additional_properties: {} apiVersion: '2018-10-01' extended_location: null identity: null location: eastus name: myazuresql1 properties: containers: - name: myazuresql1 properties:dns lable, IP address as public. environmentVariables: - name: ACCEPT_EULA value: Y - name: MSSQL_SA_PASSWORD value: India@1234 image: mcr.microsoft.com/mssql/server:2019-CU12-ubuntu-20.04 ports: - port: 1433 protocol: TCP resources: requests: cpu: 2.0 memoryInGB: 2.0 ipAddress: dnsNameLabel: mysqlazure1 fqdn: mysqlazure.eastus.azurecontainer.io ip: public ports: - port: 1433 protocol: TCP type: Public osType: Linux restartPolicy: Always tags: {} type: Microsoft.ContainerInstance/containerGroups |
You can replace the content of myazuresql.yaml with the updated resources configuration or create a new YAML file as shown previously. In the Azure CLI, specify the resource group name, YAML script file. As shown below, the container deployment is in progress using Azure CLI and YAML script.
|
1 |
az container create --resource-group myResourceGroup --file myazuresql.yaml |

Once the container is deployed, note down the public IP address and FQDN.
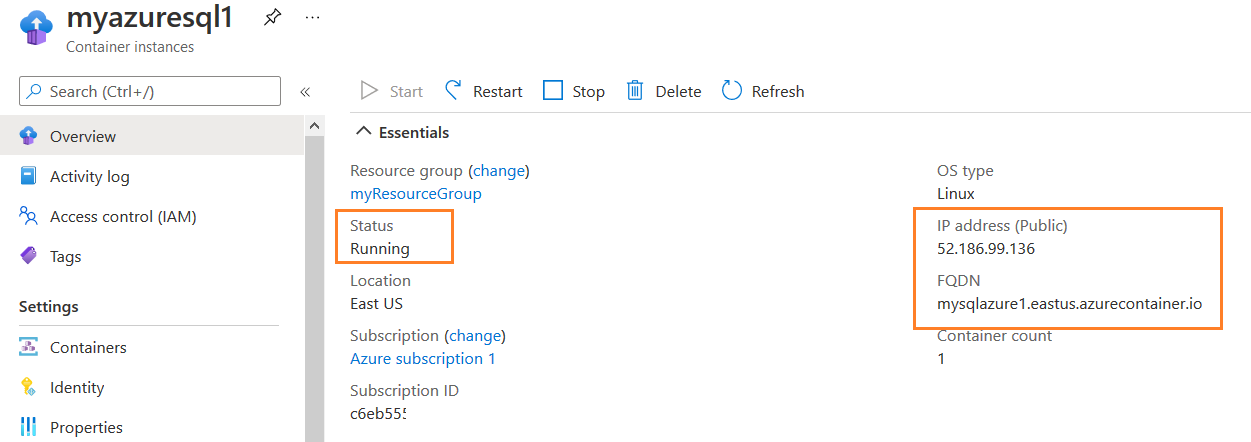
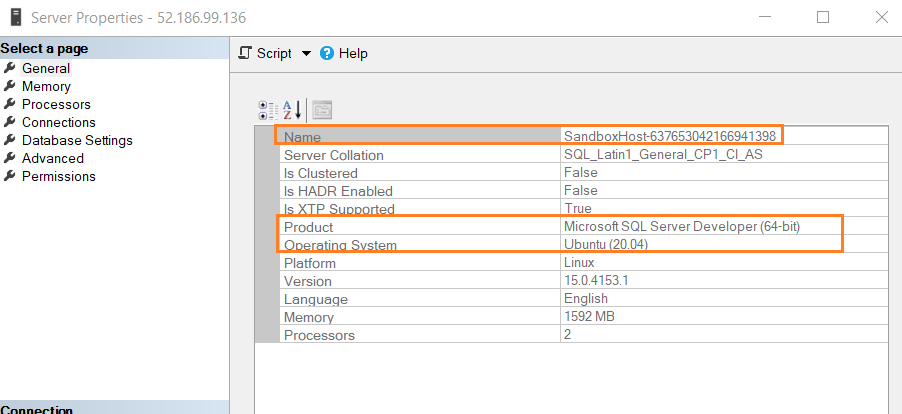
Verify the SQL Server connection to Azure Container Instance using either a public IP address or FQDN. If you look at the server name in SSMS, it shows the name starting with SandboxHost. The SQL Server edition is the developer edition installed on Ubuntu 20.04.
Conclusion
This article explored the YAML scripts for Azure Container Instance deployment with SQL Server 2019 Linux image. We also explored how to export existing containers into YAML files, update the file with your configuration and redeploy them using Azure CLI.
- Understanding PostgreSQL SUBSTRING function - September 21, 2024
- How to install PostgreSQL on Ubuntu - July 13, 2023
- How to use the CROSSTAB function in PostgreSQL - February 17, 2023

