This article will walk you through the process of creating, importing a customized SQL Server image into Azure Container Registry and finally deploying an Azure Container instance using it.
Introduction
The Azure Container Instances come in handy for developers to create a SQL Server instance on Azure Container for their development, testing quickly. In the articles (TOC at the bottom), we used the SQL Server on Linux 2019 images in the container instances. These images are standard provided by Microsoft for different SQL versions of 2017 and 2019. Suppose you need a few specific configurations or user databases for your SQL instance. You need to configure each instance or every instance you deploy from the standard images with these standard images. Therefore, it might be a problem for you to repeat this process over many containers.
In this article, we will look at the following points.
- Create customized SQL Server images from the standard image
- Import the customized image into the Azure Container registry
- Deploy customized images for Azure Container Instances
Let’s start with the various steps required to satisfy the specified tasks.
Create customized SQL Server images from the standard image for Azure Container Instances
This step imports the standard SQL Server on Linux image and customizes it with a few configuration changes and a user database.
Install Docker on Ubuntu Linux
To install the docker on Ubuntu Linux, launch the terminal and follow the steps outlined below.
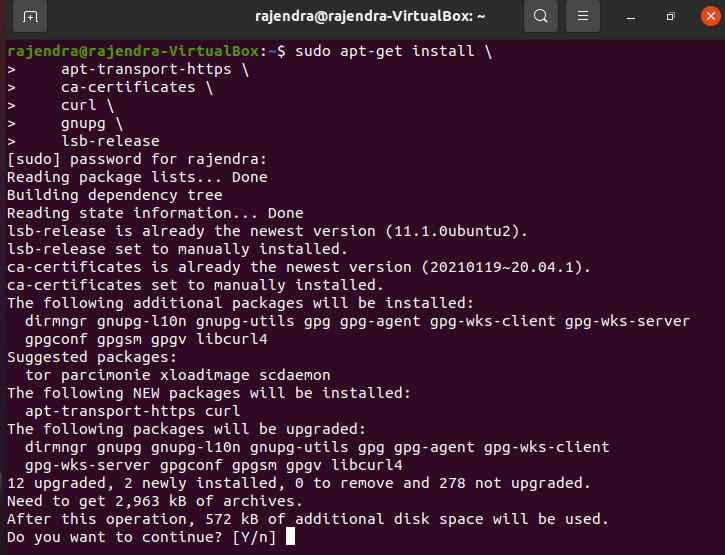
- Use the apt package to install repository over HTTPS
|
1 2 3 4 5 6 |
sudo apt-get install \ apt-transport-https \ ca-certificates \ curl \ gnupg \ lsb-release |
- Use Curl command to add the Docker’s official GPG key:
|
1 |
curl -fsSL https://download.docker.com/linux/ubuntu/gpg | sudo gpg --dearmor -o /usr/share/keyrings/docker-archive-keyring.gpg |

- Use the following lsb_release -cs setups the stable repository using the docker download URL
|
1 2 3 |
echo \ "deb [arch=amd64 signed-by=/usr/share/keyrings/docker-archive-keyring.gpg] https://download.docker.com/linux/ubuntu \ $(lsb_release -cs) stable" | sudo tee /etc/apt/sources.list.d/docker.list > /dev/null |

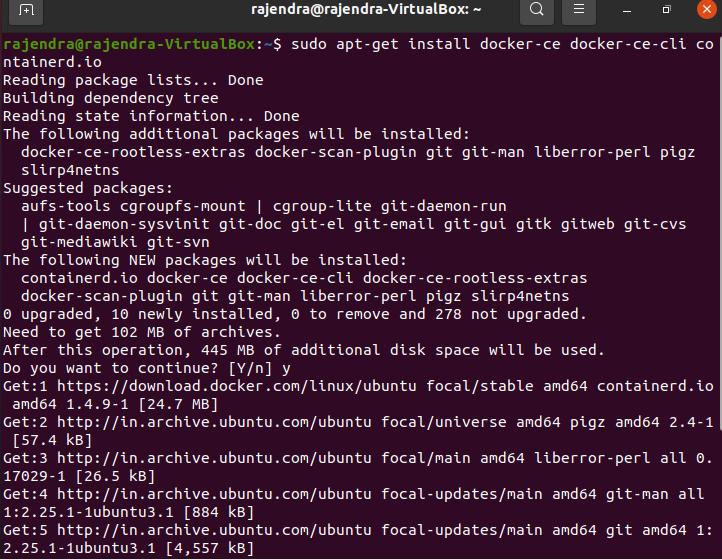
- Install the docker engine latest version
|
1 |
sudo apt-get install docker-ce docker-ce-cli containerd.io |
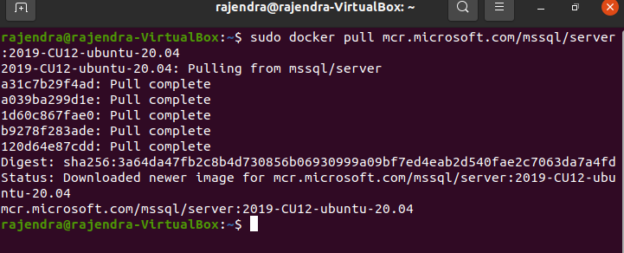
- Use the standard SQL Server on Linux repository on docker container: We use the SQL Server 2019 CU12 version for this demonstration.
|
1 |
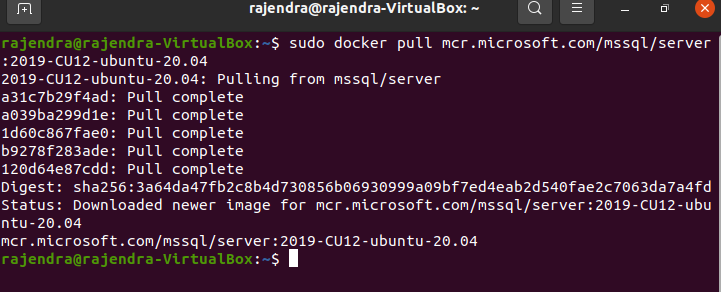
sudo docker pull mcr.microsoft.com/mssql/server:2019-CU12-ubunutu-20.04 |
It downloads the repository image from the MCR repository:
- Use the docker run command for SQL Server on Linux instance
In the script, we specify the following parameters.
- ACCEPT_EULA= Y: Accept the license conditions
- SA_PASSWORD: Specify the SA password for connecting to the SQL Server instance
- -p: maps the TCP port on the container with the host instance
- –name: It is the container name
|
1 2 3 |
sudo docker run -e "ACCEPT_EULA=Y" -e "SA_PASSWORD=India@123" \ -p 1433:1433 --name sqlshackdemo \ -d mcr.microsoft.com/mssql/server:2019-CU12-ubuntu:20.04 |
The docker run command configures the SQL Server with the specified configuration and returns the container GUID. You can check the status of the docker using the command – docker ps -a

You can install the Azure Data Studio on Ubuntu for connecting to SQL Server on Linux. Navigate to URL, download ADS and configure it.
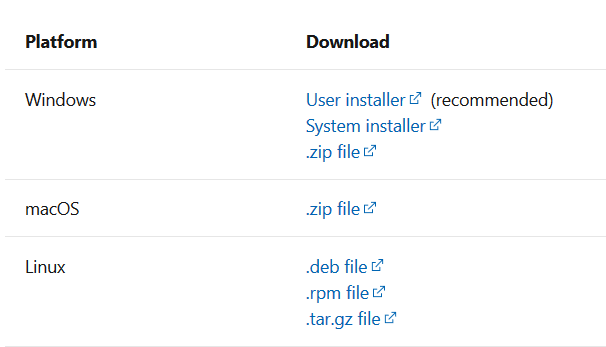
In the Azure Data Studio, enter the following details for the connection.
- Server: localhost
- Authentication: SQL authentication
- User id: SA
- Password: As specified in the docker_run command.
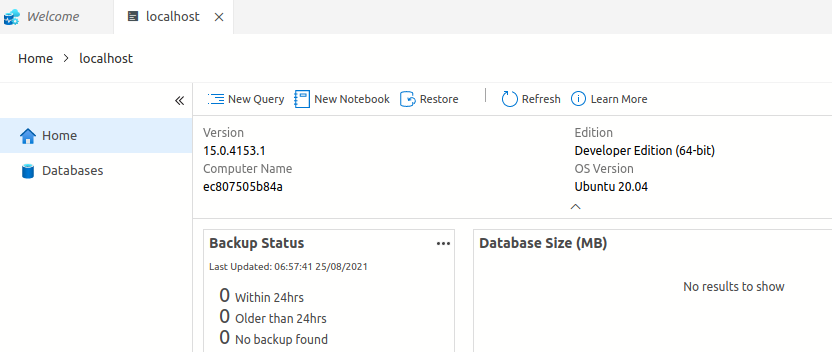
As shown below, we have an active instance of SQL Server on Linux version 15.0.4153.1 and developer edition.
Customize SQL Server container image
We installed the standard image for SQL Server on Linux in the docker container. Suppose we want to deploy a SQL Server database and objects in it. Later, we will build a customized docker container image with this user database.
The script below creates a database [SQLShackDemo] and a table [Emp] with one record.
|
1 2 3 4 5 6 7 8 9 10 11 12 13 |
Create Database SQLShackDemo GO Use SQLShackDemo Go Create table Emp ( id INT, name varchar(20) ) GO Use SQLShackDemo Go Insert into emp values(1,'Raj') |
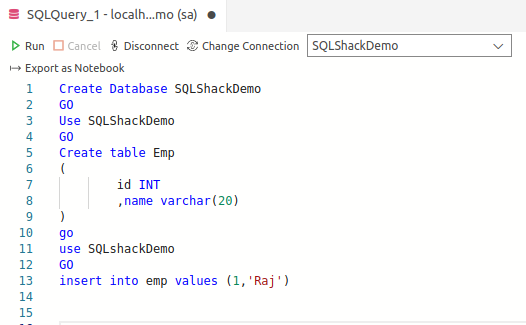
To build the customized image, we need to stop and commit the container image.
|
1 |
docker stop sqlshackdemo |
As shown below, the container status is exited.

The docker commit command saves the container image locally. It returns the container GUID as shown below.
|
1 |
docker commit sqlshackdemo |

Use the docker images to list down the locally installed images. We have an image with none specified in the repository and TAG. It is the image that we recently committed using docker commit.

Before we move forward, navigate to URL https://hub.docker.com/signup and set up a container account and repository.
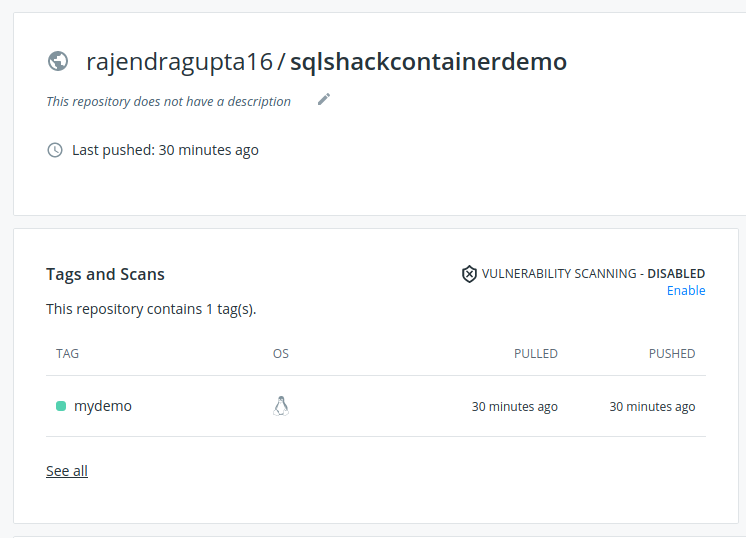
For this article, I set up the repository sqlshackcontainerdemo as shown below.

We need to add the tag using the docker tag command using the image id returned by the docker image. It also uses the docker hub repository where we want to save the custom image.
|
1 |
docker tag dba221b61657 rajendragupta16/sqlshackcontainerdemo:mydemo |

Export the customized image into the docker hub
We will export and save the customized image into our docker hub account. To export, the first login to docker using the docker login command.
|
1 |
docker login –username rajendragupta16 |
It stores the password in an encrypted form in the /root/.docker/config.json file.

Use the docker push command in the following format.
|
1 |
docker push [dockerhubrepositry]:tag |
Therefore, my command to push the customized image is as below
|
1 |
docker push rajendragupta16/sqlshackcontainerdemo:mydemo |
It starts uploading the customized docker container images into the specified docker account.

The status changes to pushed once the upload is successful into a docker container.

Refresh the docker account, and you can view the container image.
Publish container image to Azure Container Registry for Azure Container Instances
Microsoft has Azure Container Registry for hosting the docker images and other related artefacts. You can use these images for container-based deployment, similar to a regular image.
In the Azure portal, search for Azure Container Registry. It displays the following page for the container registries.
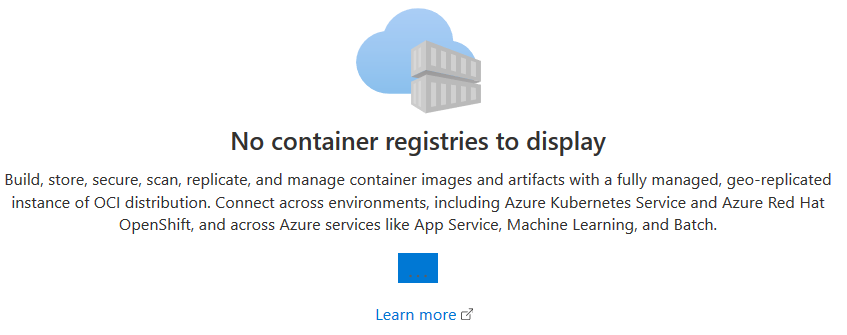
In the container registry, input the following values.
- Registry name
- location
- SKU: You can choose from the basic, standard, or premium service tiers. You can refer to
https://docs.microsoft.com/en-us/azure/container-registry/container-registry-skus for Azure Container Registry service tiers.
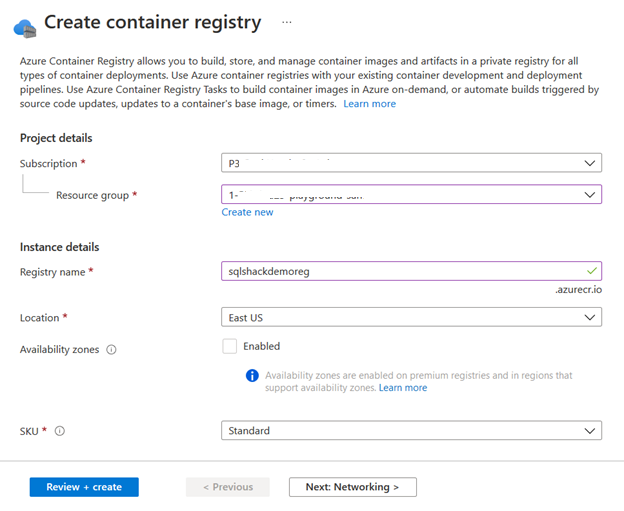
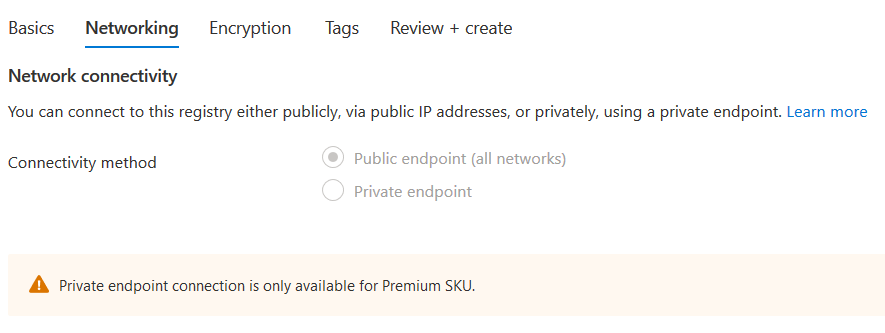
The private endpoint and customer-managed SKU are available for the premium SKU. With the standard SKU, we use the public endpoint with the access keys.

Once the Azure container registry instance is deployed, note down the login server.

We also require access keys for the container registry. Click on the access keys in the container registry dashboard and enable the admin user. Note down the container registry username and password.
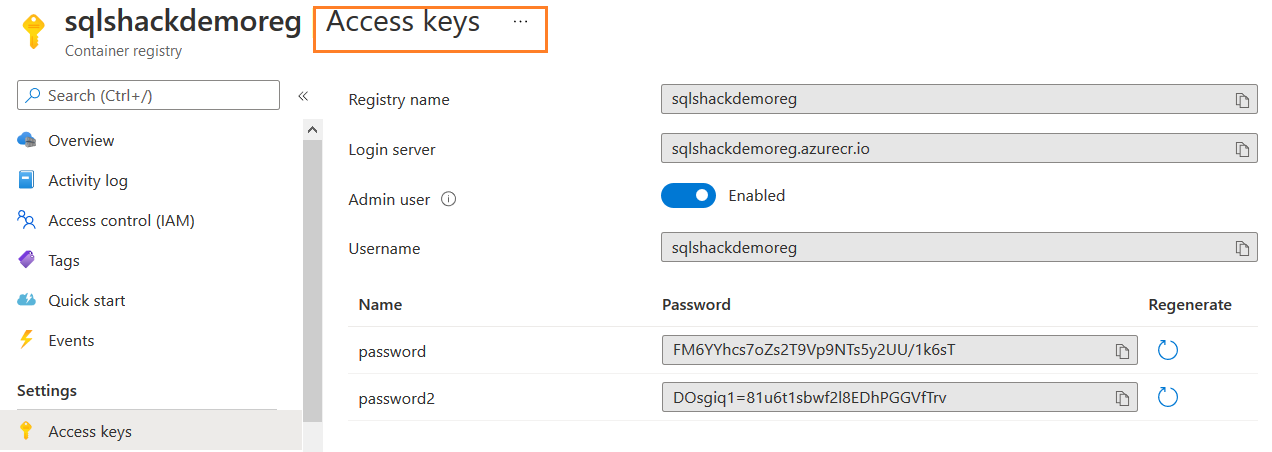
Validate the access keys using the docker login command. In the docker login command, we need to specify the following values.
- login server
- username
- password
|
1 |
docker login sqlshackdemoreg.azurecr.io |

To push the customized image into the Azure Container registry, we need to tag the container image with the Azure login server name. We require an image tag with a login server that we retrieved a couple of commands ago and the name of the image:
|
1 |
sudo docker tag rajendragupta16/sqlshackcontainerdemo:mydemo sqlshackdemoreg.azurecr.io/sqlshackdemoreg:mydemo |
In this command, we have the following values.
- docker container image: rajendragupta16/sqlshackcontainerdemo:mydemo
- Azure login server tag: sqlshackdemoreg.azure.io/sqlshackdemoreg:mydemo
Once the image tag is set, use the docker image and validate the repository and TAG values.

Now, we can push the customized image stored in the docker account to the Azure container registry.
|
1 |
sudo docker push sqlshackdemoreg.azurecr.io/sqlshackdemoreg:mydemo |
It starts the image push and returns the repository details and size in the output, as shown below.


Navigate to the container registry and verify that the customized image exists. The dashboard also returns the repository, tag, platform and docker pull command.

You can also fetch the repository list using the Azure CLI command – az acr repository list.
|
1 |
az acr repository list –name sqlshackdemoreg –output table |

Deploy an Azure Container Instance using Azure Container registry image
In the articles (TOC at the bottom), we deployed SQL Server 2019 Linux using the standard docker images. As stated earlier, we have the requirement of a customized image so that every time we deploy it, we have the user database and objects.
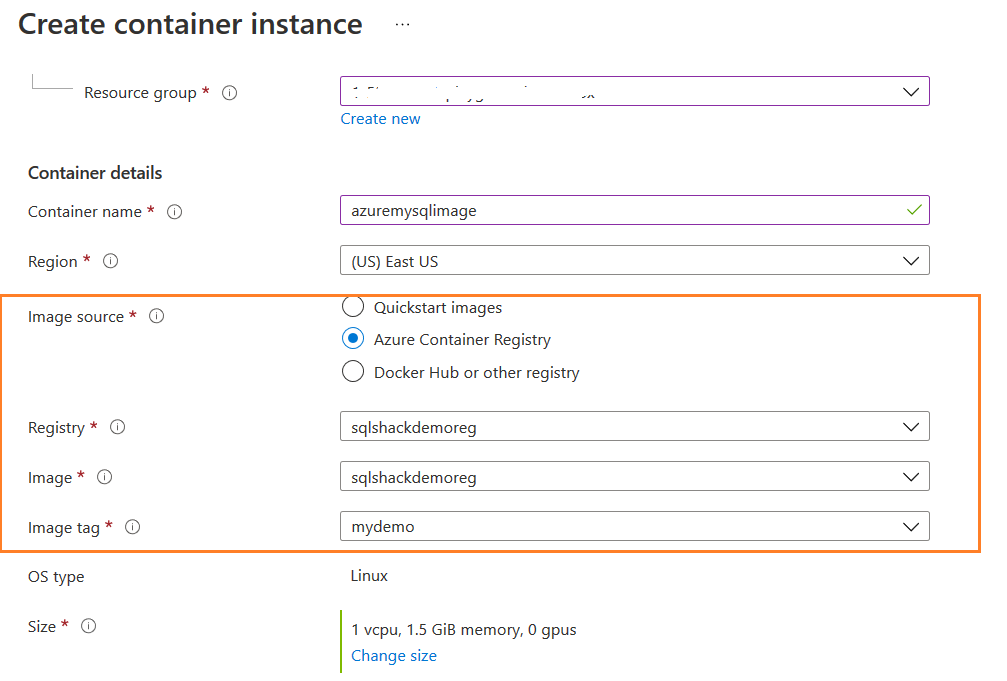
In the Azure Container Instances configuration page, select the option – Azure Container registry. It automatically populates information for the registry, image, and tag.
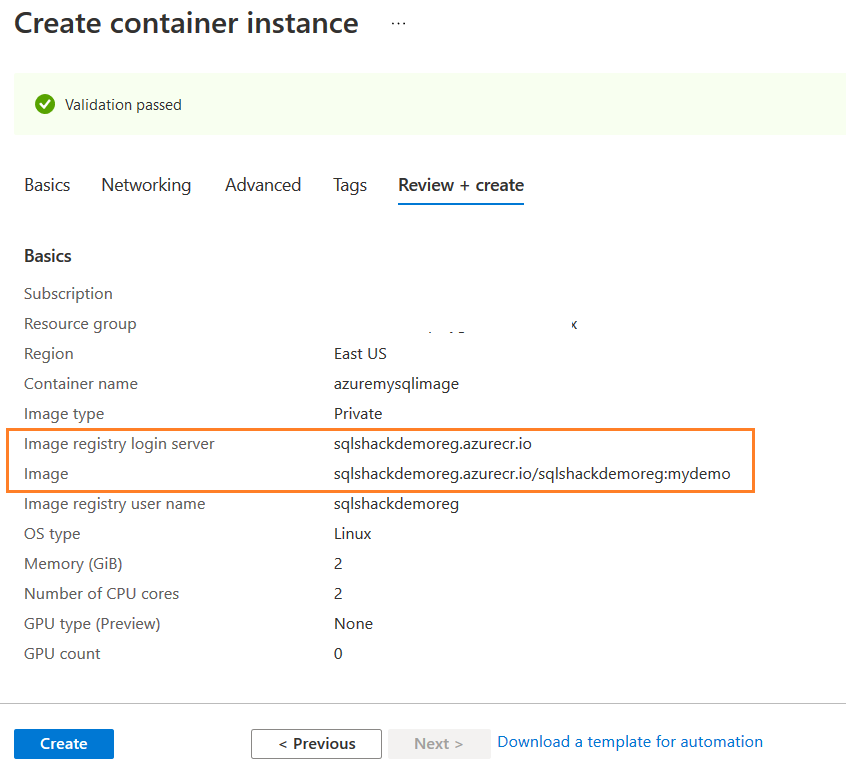
On the review and validation page, verify the following values.
- Image registry login server
- Image
- Image registry username
- OS type
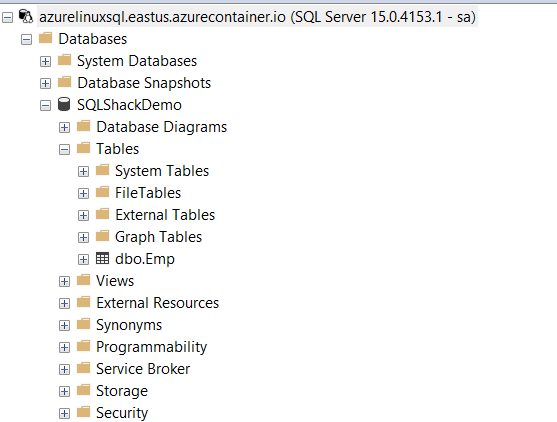
Click on create for deploying the Azure Container instance and connect to SQL Server using the public IP address or FQDN.

As shown below, we have the user database [SQLShackDemo] with the table [Emp].
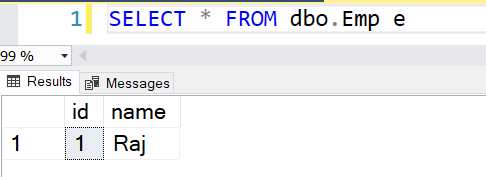
The table has one record that we inserted for customizing the SQL Server container image.
Conclusion
In this article, we explored customizing the container images and uploading them into the Azure image registry. You can use the customized registry and deploy containers with databases, objects, configurations as per your standards. It can help save your time to deploy database, their best practices, configurations every time you build a new container instance.
- Understanding PostgreSQL SUBSTRING function - September 21, 2024
- How to install PostgreSQL on Ubuntu - July 13, 2023
- How to use the CROSSTAB function in PostgreSQL - February 17, 2023

