This article will restore a Transparent Data Encrypted Azure SQL Database into an on-premise SQL Server. Further, we will also create a copy of the Azure database on the same server.
Transparent Data Encryption for on-premises SQL Server
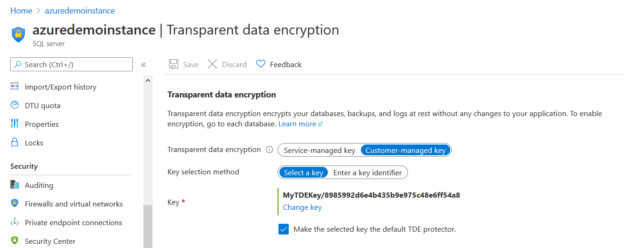
Transparent Data Encryption(TDE) is an encryption feature that encrypts SQL Server data files, log files, and backups. It safeguards you from any unauthorized access to your database files. In an on-premises SQL Server, you need to enable it using the database encryption key and certificate. In the article, TDE customer-managed keys in Azure SQL Database, we explored the following points regarding Azure SQL Database TDE.
- By default, every Azure database is encrypted using Transparent Data Encryption
- You can use a service-managed key as well as a customer-managed key for encrypting your databases
- You can generate a key using Azure Key Vault (AKV) and use it for Azure database TDE encryption
- All databases in an Azure SQL Server use the default TDE protector
- You should backup the TDE protector to restore in case of any emergency. If your database lost access to the key, it won’t be accessible
Suppose you enable TDE for an on-premises production SQL database. You get a requirement to create a database copy on the staging environment. To restore the TDE encrypted database on a different instance, you need to perform the following steps.
-
Source instance:
- Backup database
- Backup certificate
-
Destination instance:
- Restore the certificate
- Restore database backup
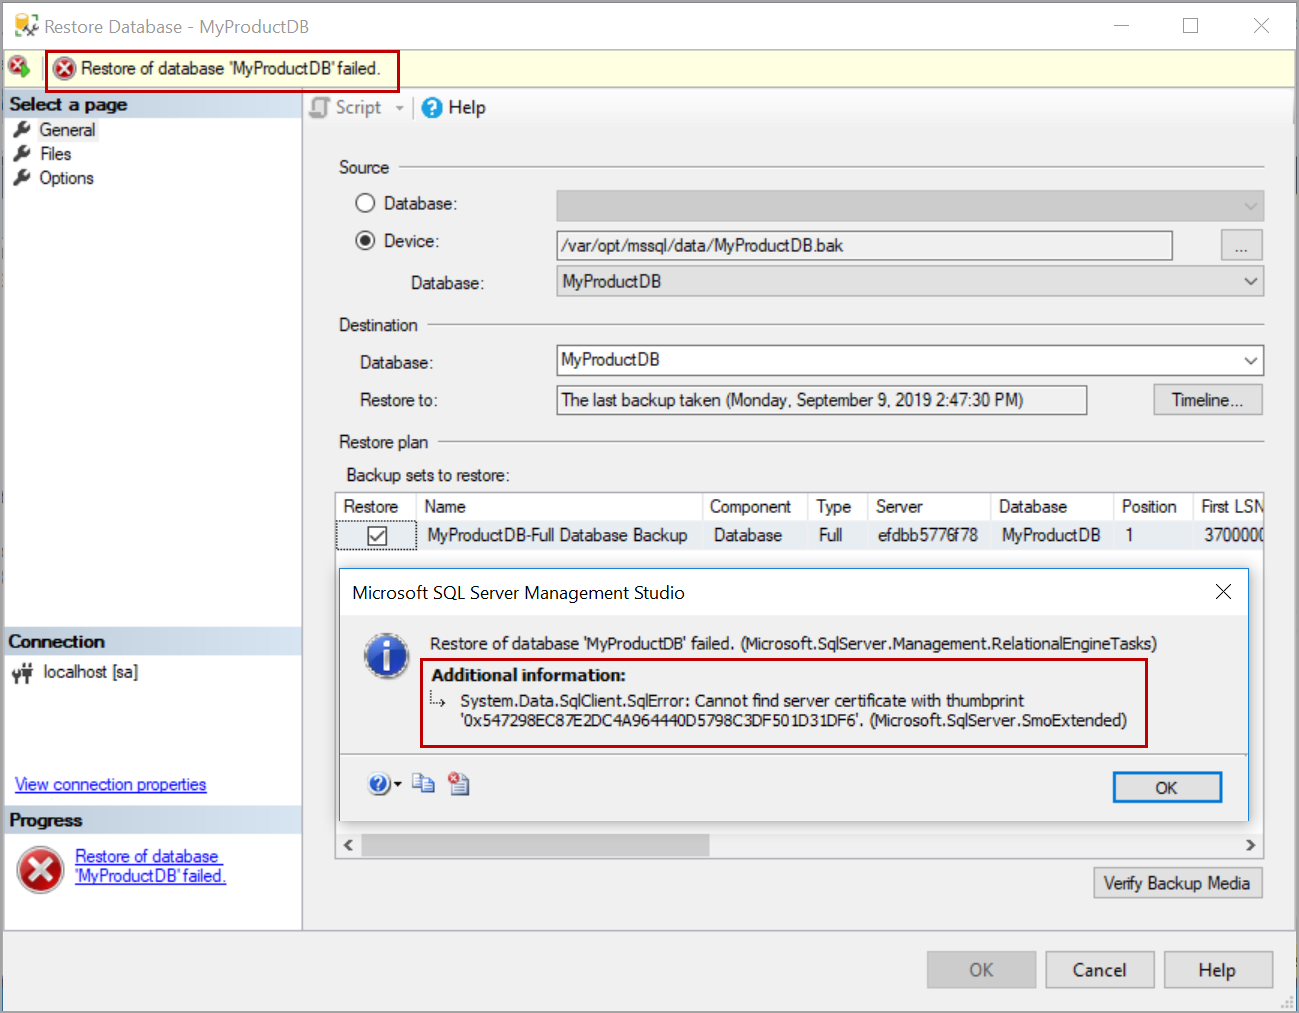
If you do not restore the certificate on the target SQL instance, you get the following error while trying to restore the database. You can refer to the article, Restoring Transparent Data Encryption (TDE) enabled databases on a different server for more details.
Azure SQL Database and Transparent Data Encryption (TDE)
Azure SQL database is already encrypted using Transparent Data Encryption(TDE) mechanism. Therefore, you might think of a few questions as below.
- If we create an Azure database copy, which TDE key is applied to it?
- How do we restore the Azure database from Cloud to On-premises SQL Server?
- Can we restore a TDE enabled on-premises database to the Azure cloud?
In this article, we figure out the answer to these questions with practical demonstrations.
Restore Azure SQL Database to an on-premises SQL instance
For this article, I use [labazuresql] Azure database, and it is configured with the customer-managed TDE protector.
To create a database copy, we can either use the Azure portal or use CREATE DATABASE….AS COPY OF statement.
|
1 |
CREATE DATABASE labazuresql_copy AS COPY OF labazuresql |
It creates a transactionally consistent database copy with a service tier similar to the source Azure database.

In the Azure portal, refresh your SQL Server, and you will find two identical databases. As shown below, both have a basic pricing tier.
Open the new azure database dashboard and navigate to the Transparent Data Encryption page. This database also shows the status as Encrypted.
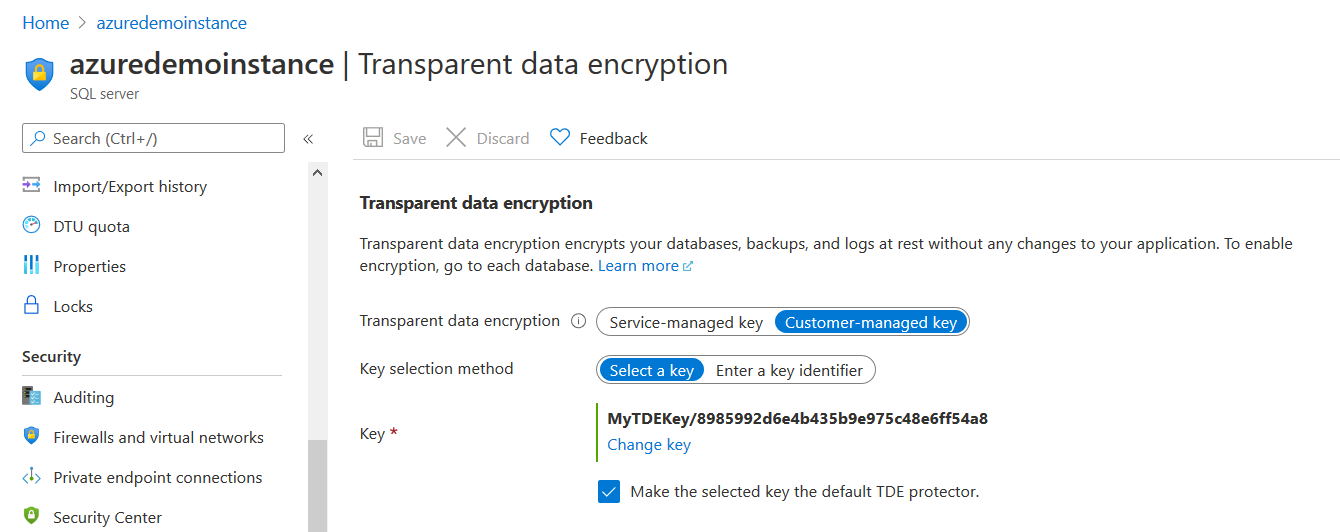
As stated earlier, the TDE protector configuration is performed at the Azure SQL Server level. Therefore, all new database or their copies also uses the same TDE protector. In this demo, the Azure Server is configured with a customer-managed key. Thus, the newly copied database also uses it for encryption.
Generate a BACPAC for Azure SQL database
We cannot create a database backup (BAK) file for the Azure database and restore it on-premise SQL Server instance. If you right-click on the Azure database and go to the task, you don’t get backup and restore options.
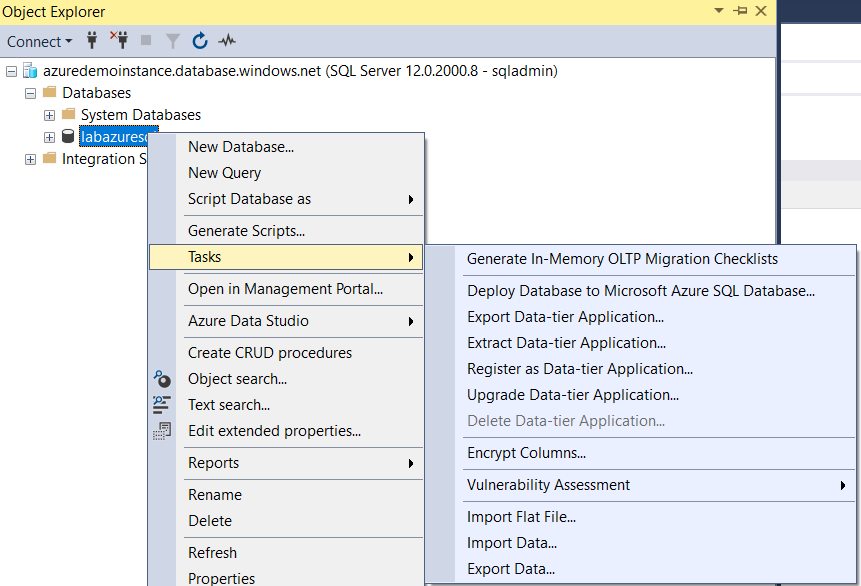
Therefore, we use the Data-Tier Application Package for database export and import. Click on the Export Data-tier Application under tasks.
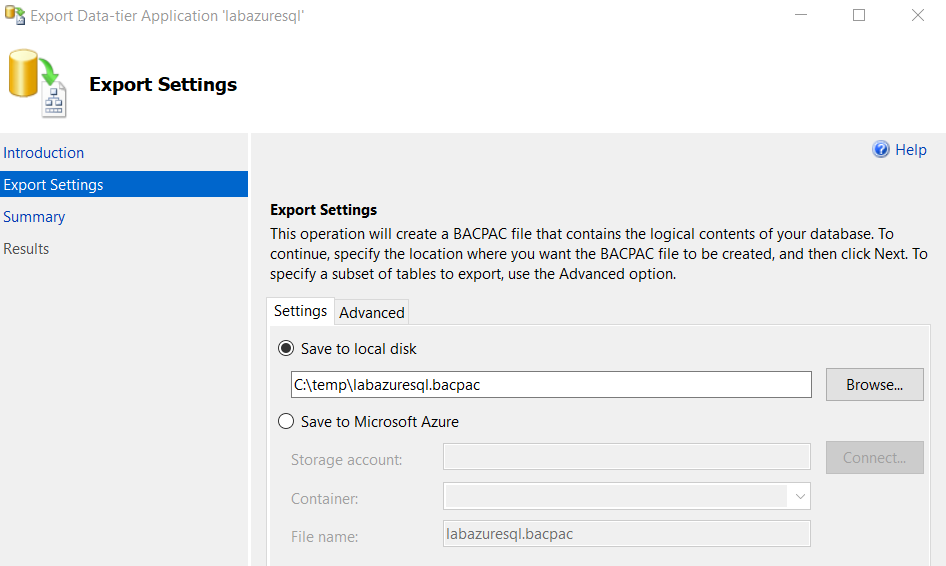
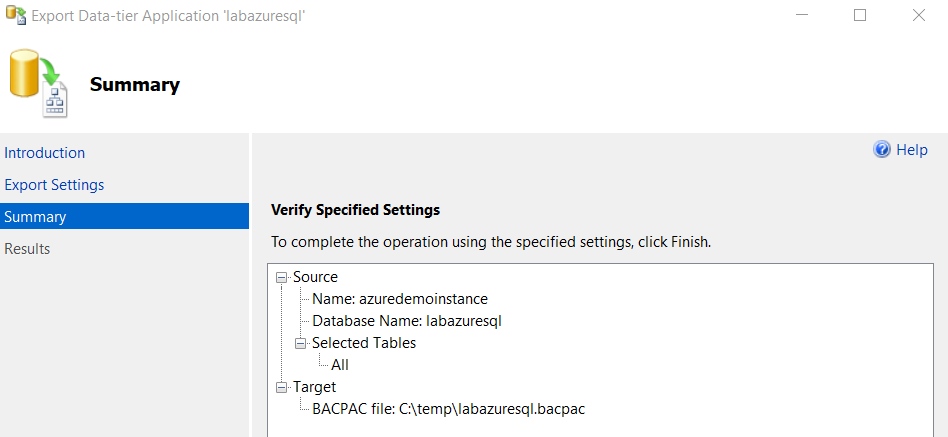
Verify export data-tier application configurations.
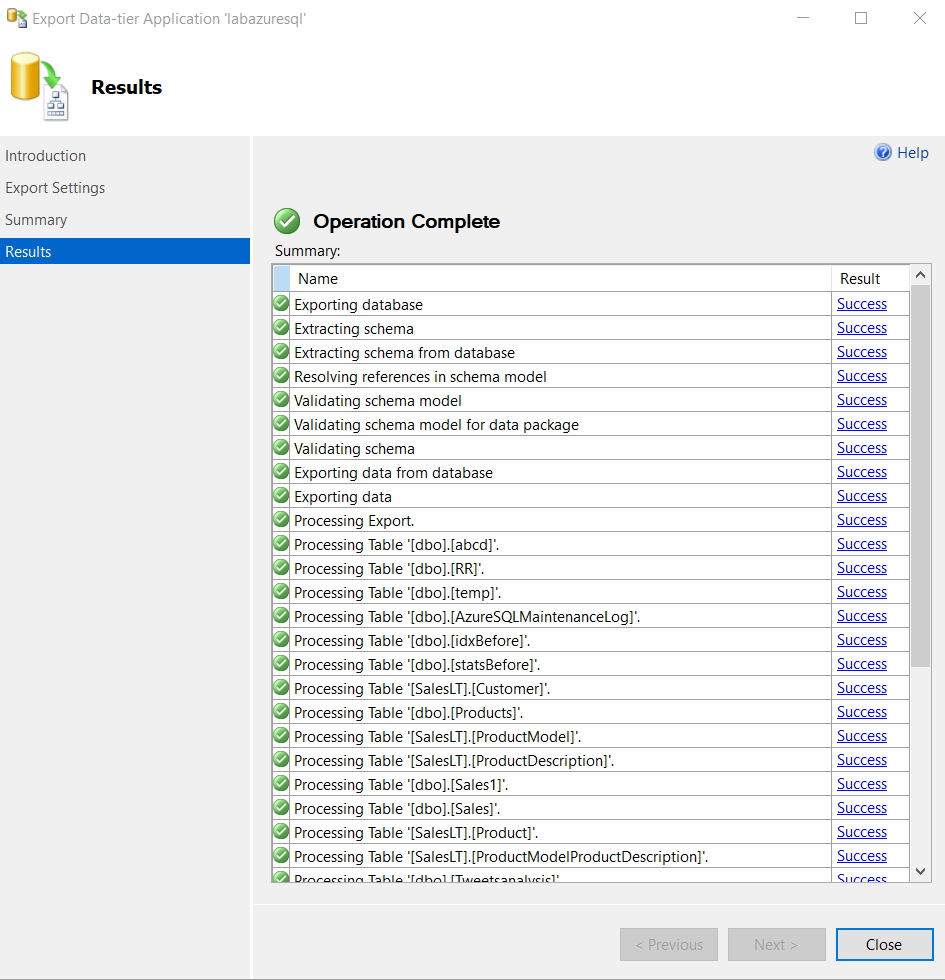
It exports database, schema, objects script and table data into a BACPAC format file into your specified location.
Import BACPAC file into on-premise SQL instance
In this step, we import the BACPAC file into on-premises SQL Server using the Import Data-tier Application option from Database node -> Tasks.
- Note: Before we import a BACPAC file, we need to enable contained database authentication for the on-premises SQL instance using sp_configure. To know about the contained database, you can refer to the article Contained databases in SQL Server
|
1 2 |
Exec sp_configure 'contained database authentication' ,1 RECONFIGURE |
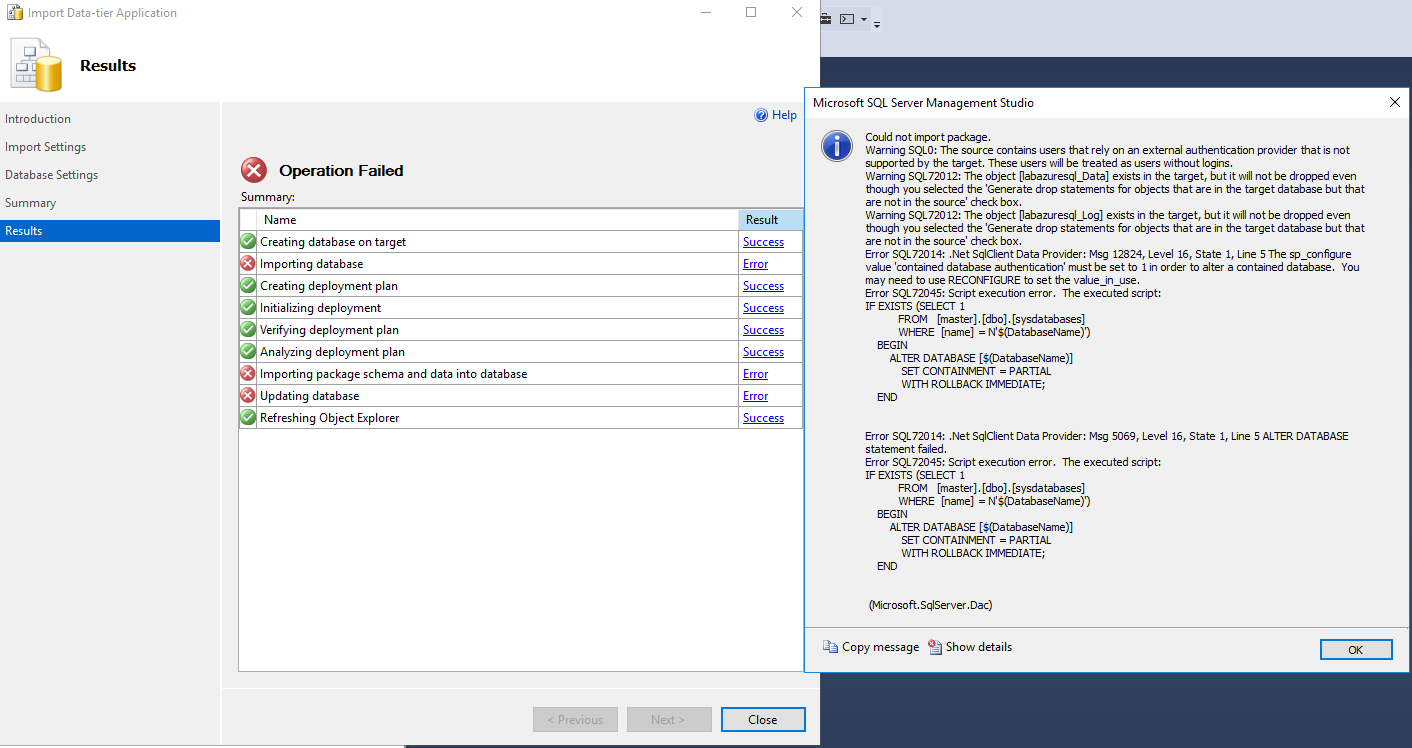
If we do not enable the contained database authentication before importing BACPAC, you get the following error message. According to the error message, the source instance has users that rely on an external authentication provider. The target does not support it. The further description gives the sp_configure statement and asks you to enable the contained database authentication.
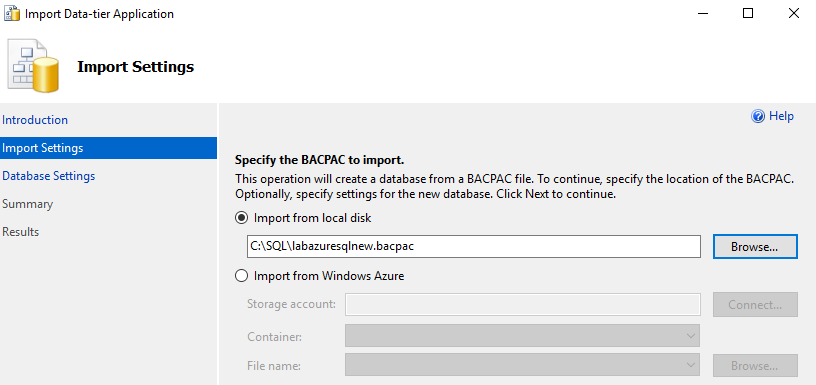
In the Import data-tier application wizard, specify the BACPAC file location (local disk or Windows Azure storage account) and click on Next.
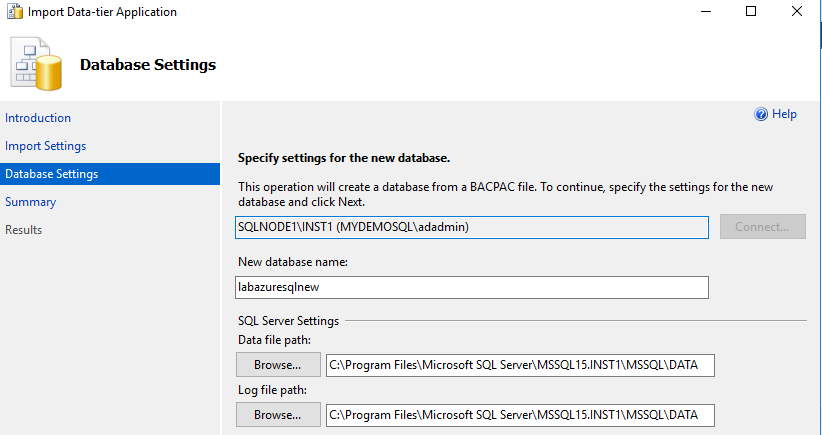
On the next page, specify the database settings such as imported database name, data and log file locations. By default, it gives the default path data file and log file directories.
View import configurations.
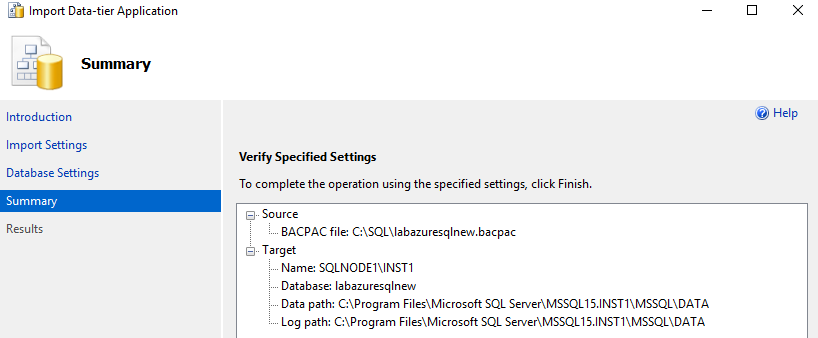
It creates a database, schema, objects and inserts data in the import BACPAC operation.
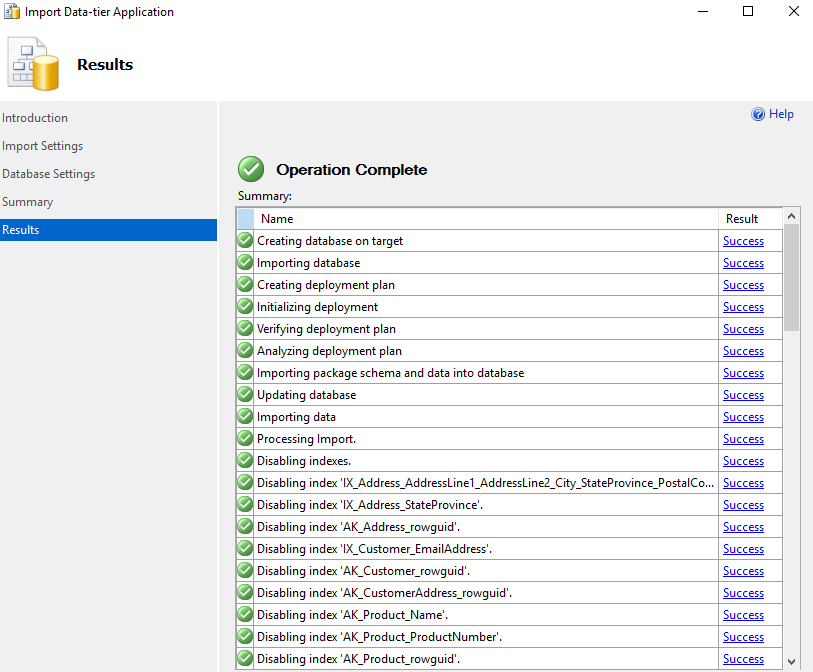
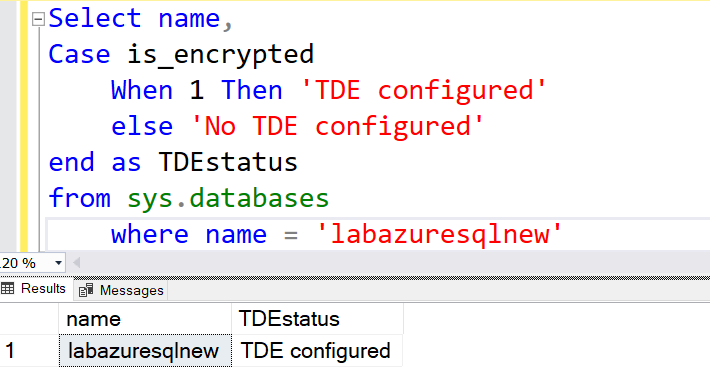
Now, run the following T-SQL for validating whether the imported database in the on-premises instance is encrypted.
|
1 2 3 4 5 6 7 |
Select name, Case is_encrypted When 1 Then 'TDE configured' else 'No TDE configured' end as TDEstatus from sys.databases where name = 'labazuresqlnew' |
As shown below, this database is not using the Transparent Data Encryption(TDE), although the source Azure SQL Database has TDE enabled.

If we want to use TDE for the destination on-premises database, we need to configure it. You can refer to the article, How to configure Transparent Data Encryption (TDE) in SQL Server.
Import BACPAC from an on-premises server to an Azure SQL server
In this step, we want to import a BACPAC file generated from an on-premises SQL Server. Later, we will import into the Azure SQL Server.
In my source instance, I have not implemented Transparent Data Encryption. As we know, all Azure SQL Databases have TDE enabled. Therefore, if I import this database onto Azure SQL Server, Do I need any additional configurations?
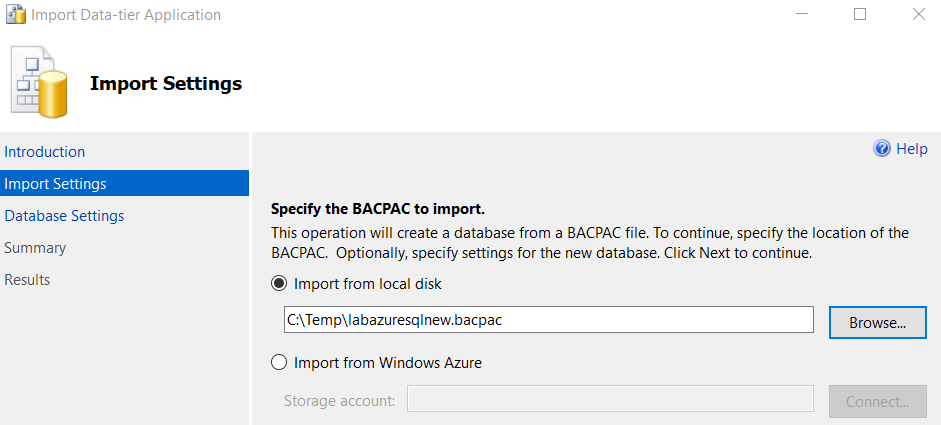
Connect to your Azure SQL Server in SSMS and click on Import Data-tier application. Here, specify the BACPAC file location from either the local disk or Azure Storage account.
On the next page, do the Azure SQL database configurations. Here, we cannot select the data and log file locations. Please enter the new database name and their service tier, Maximum database size, and service objective. By default, it chooses the standard pricing tier. Here, I specify a basic pricing tier that allows a maximum 2 GB database size. You can also modify these configurations as per your workload requirements. To automate the azure database service tier modification as per a fixed schedule, refer to the article, Automatic Scale up and down Azure SQL database with Logic Apps.
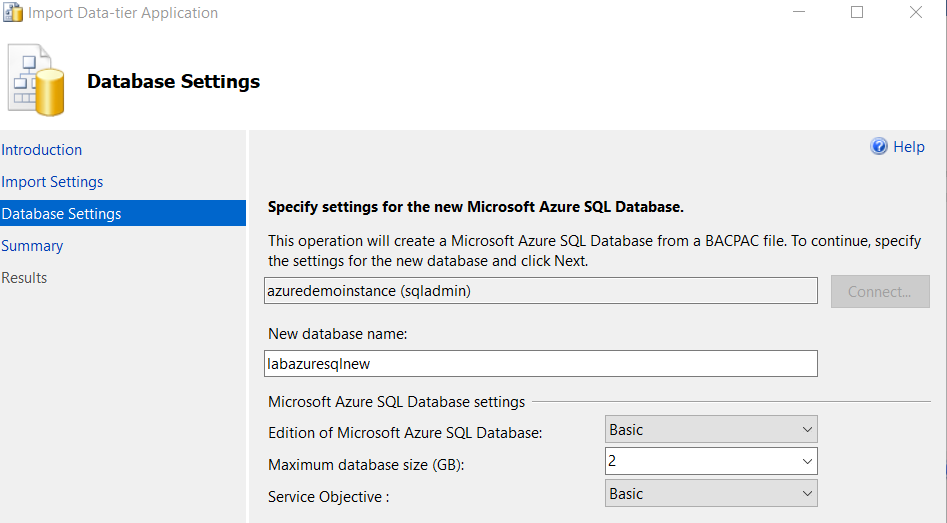
Verify your import data-tier application configuration and click on Finish.
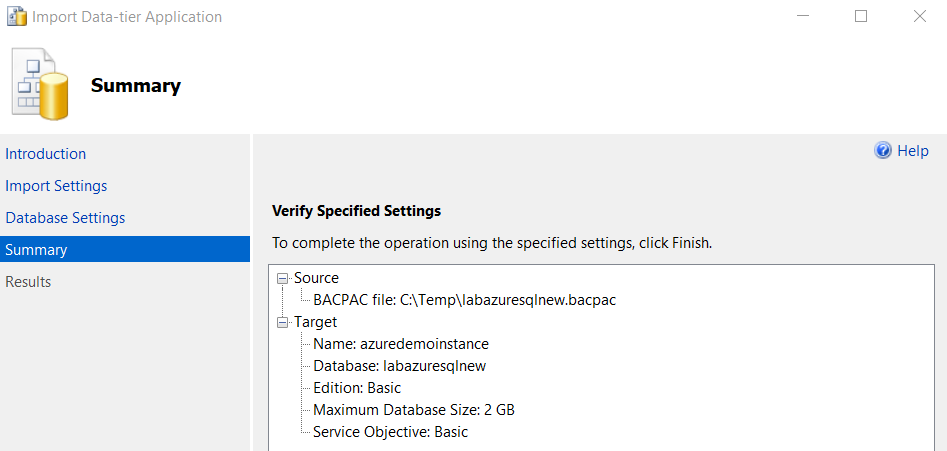
It creates a new Azure SQL Database into your connected Azure SQL Server. You get status for each activity if performed for importing a BACPAC file.
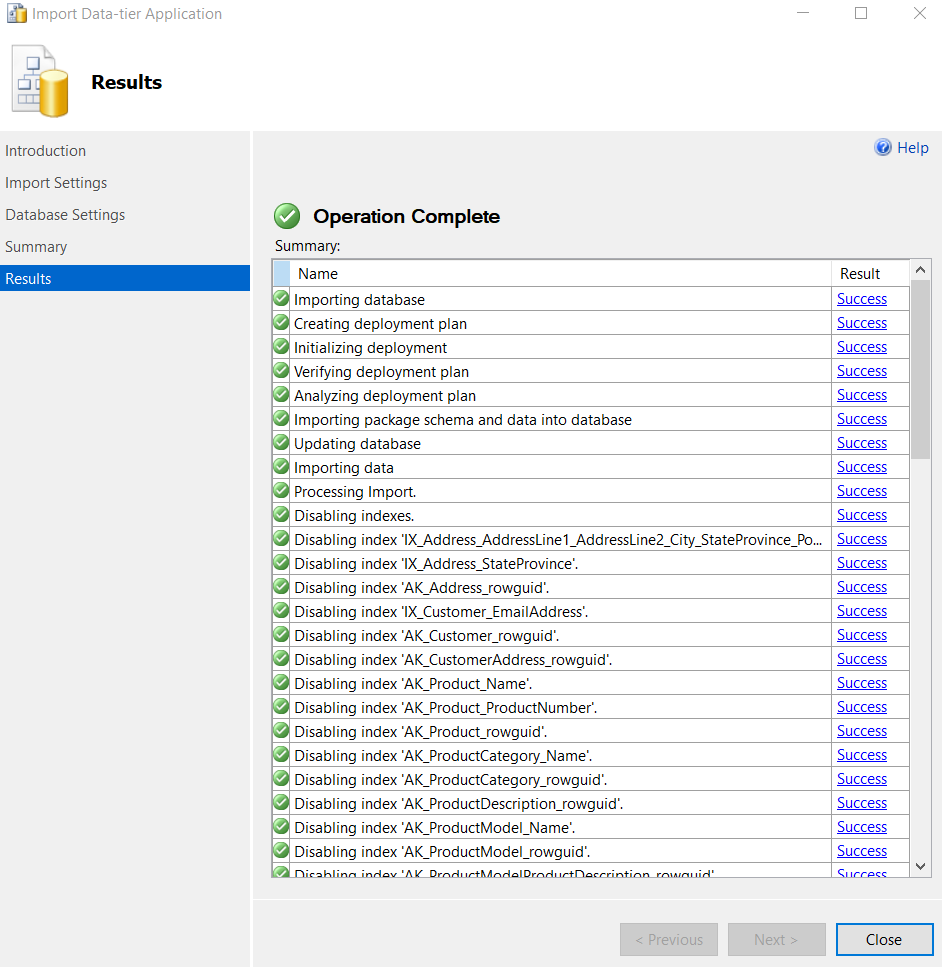
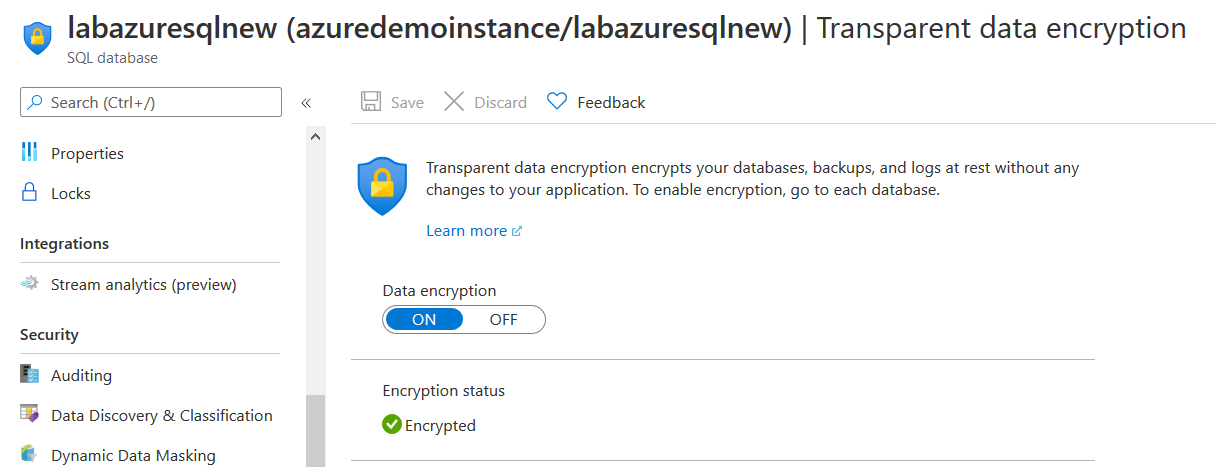
As shown below, your new Azure database is encrypted even you import it from the database without TDE configured.
We can verify the encryption using the query specified above.
Conclusion
This article showed how you can restore Azure SQL Database having default TDE enabled configuration to the on-premises SQL Server. It imports the BACPAC file successfully, but the on-premise database does not have TDE configured. You require additional configurations for it.
Similarly, if you create an Azure database copy or import a BACPAC on the Azure server, it is always TDE enabled. The TDE protector configuration works at the Azure SQL Server level. We cannot modify the TDE protector for a specific Azure database.
- Understanding PostgreSQL SUBSTRING function - September 21, 2024
- How to install PostgreSQL on Ubuntu - July 13, 2023
- How to use the CROSSTAB function in PostgreSQL - February 17, 2023

